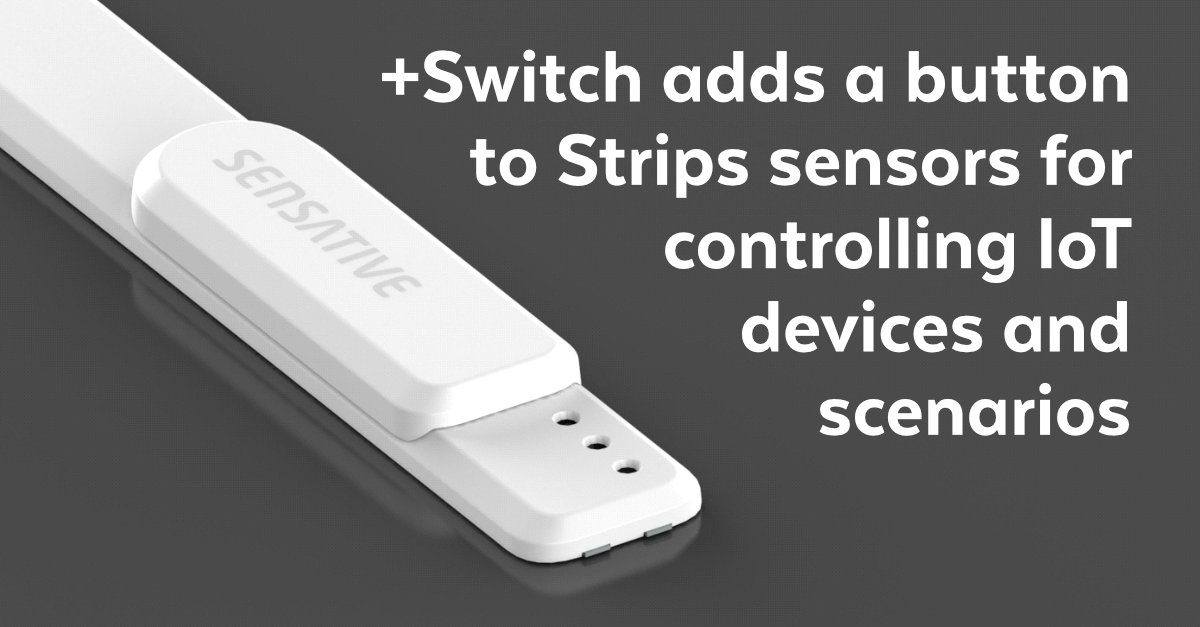
+Switch
+Switch adds a button to Strips sensors for controlling IoT devices and scenarios. The +Switch is the latest Strips accessory and it adds a button functionality to Strips. It is compatible with all Strips LoRaWAN sensors and Strips Comfort 700 Z-Wave.
By simply moving +Switch you can control lights and other IoT devices, but also initiate predefined scenarios in your smart home or buildings and order services on demand.
Adding a button functionality to Strips sensors
- Turn on/off lights
- Initiate a scenario ("home", "away", ...)
- Order an action or service on demand
- Simple retrofit to all Strips LoRaWAN sensors
- Use Strips as a remote controller as part of your smart home or building solution
Works with:
- Strips +Comfort for LoRaWAN
- Strips +Drip for LoRaWAN
- Strips +Guard for LoRaWAN
- Strips Presence for LoRaWAN
- Strips Comfort 700 for Z-Wave
Covid-19 Use case
One use case example is combining Strips Presence for LoRaWAN with +Switch, creating unique use-cases for smart offices. Common desk occupancy sensors only report "occupied" or "not occupied". Strips Presence with +Switch makes it possible to manually change state, providing current desk status, whether it's “occupied”, “vacant” or “pending”. Pending meaning when a person occupies a desk, then leaves, the sensor will inform that the space is "pending" rather than just "not occupied". One example of an action that is required for the desk to be made available can be for instance cleaning and disinfection of the table. When the cleaner has disinfected the desk, they can simply slide +Switch from one side to the other and the sensor will report that the desk is both available and disinfected ("vacant").
Before you remove the adhesive
Make sure the +Switch slides smoothly by sliding it back and forth (+Switch should move from one position to the other and not flip back to its first position).

1) Starting position of the slider and below magnet visibly attached, after inspection is complete, move slider back to this position
Attach +Switch on Strips
Make sure you get the correct alignment of +Switch when you mount Strips:
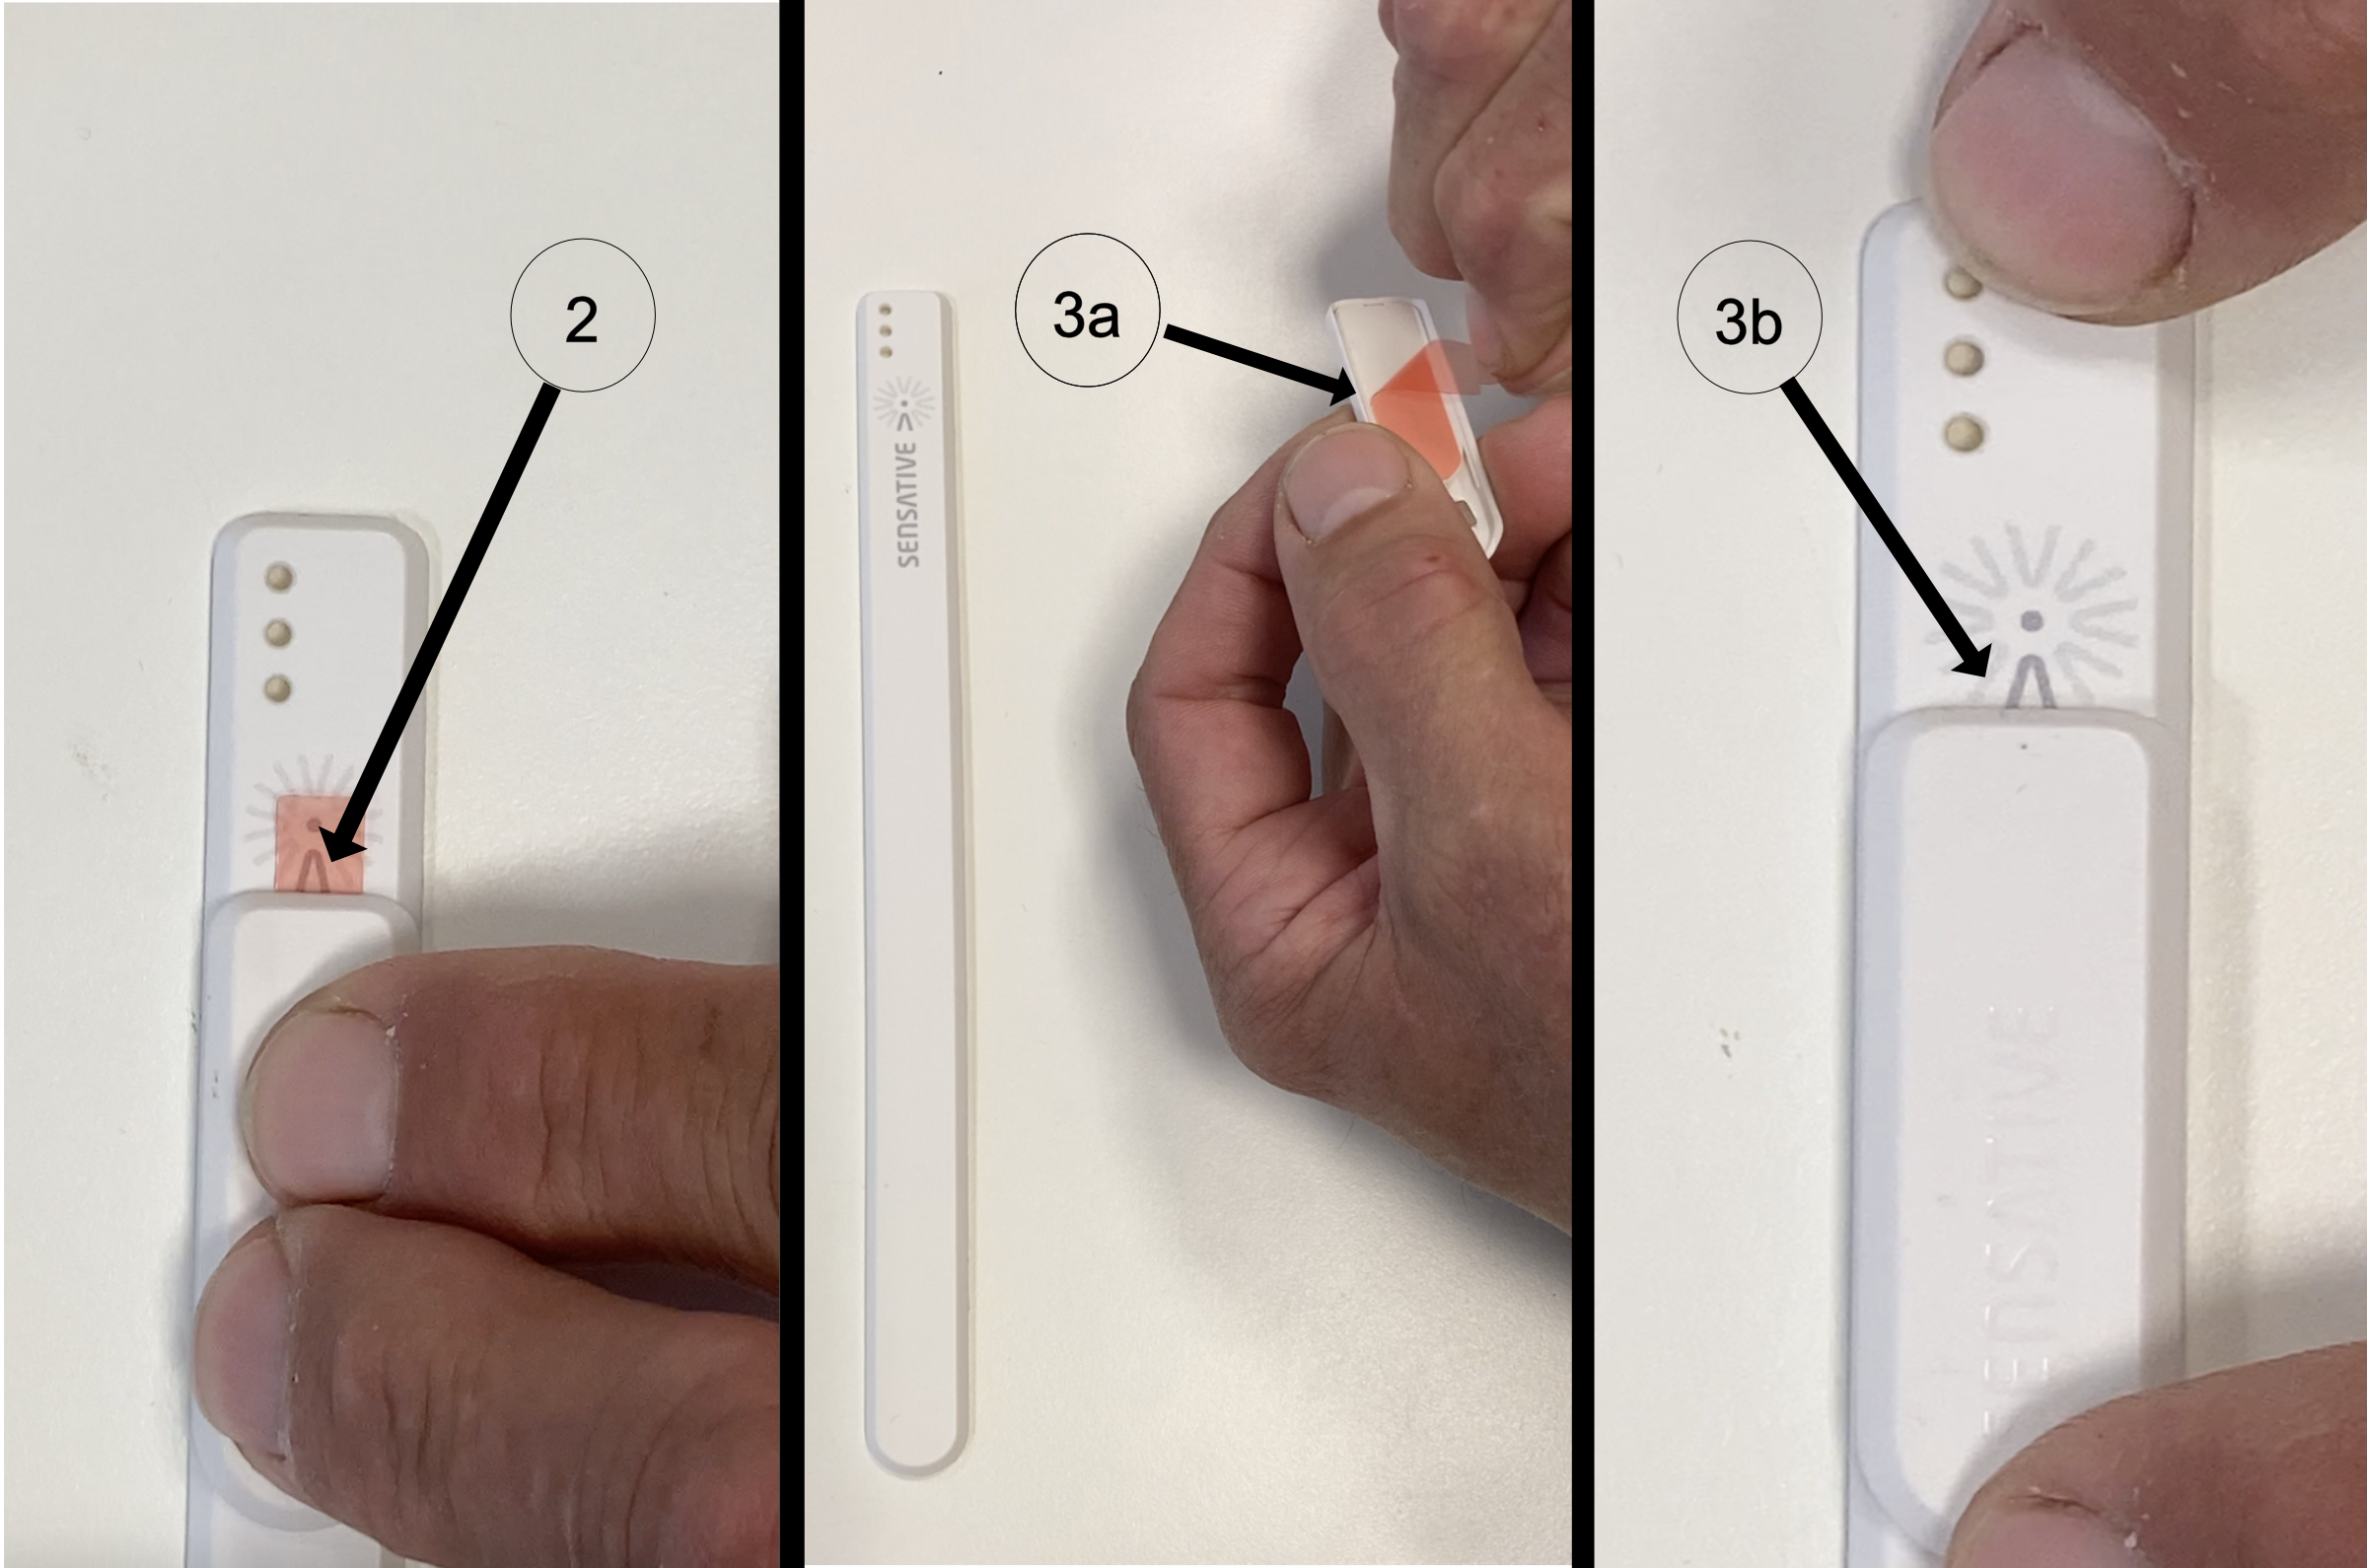
2) The straight edge of +Switch should be aligned with the bottom side of the icon (see the correct alignment in the picture below)
3a) Remove the adhesives from +Switch and make sure the position is the same as image 1
3b) Mount the +Switch on the Strips sensor carefully in its correct position
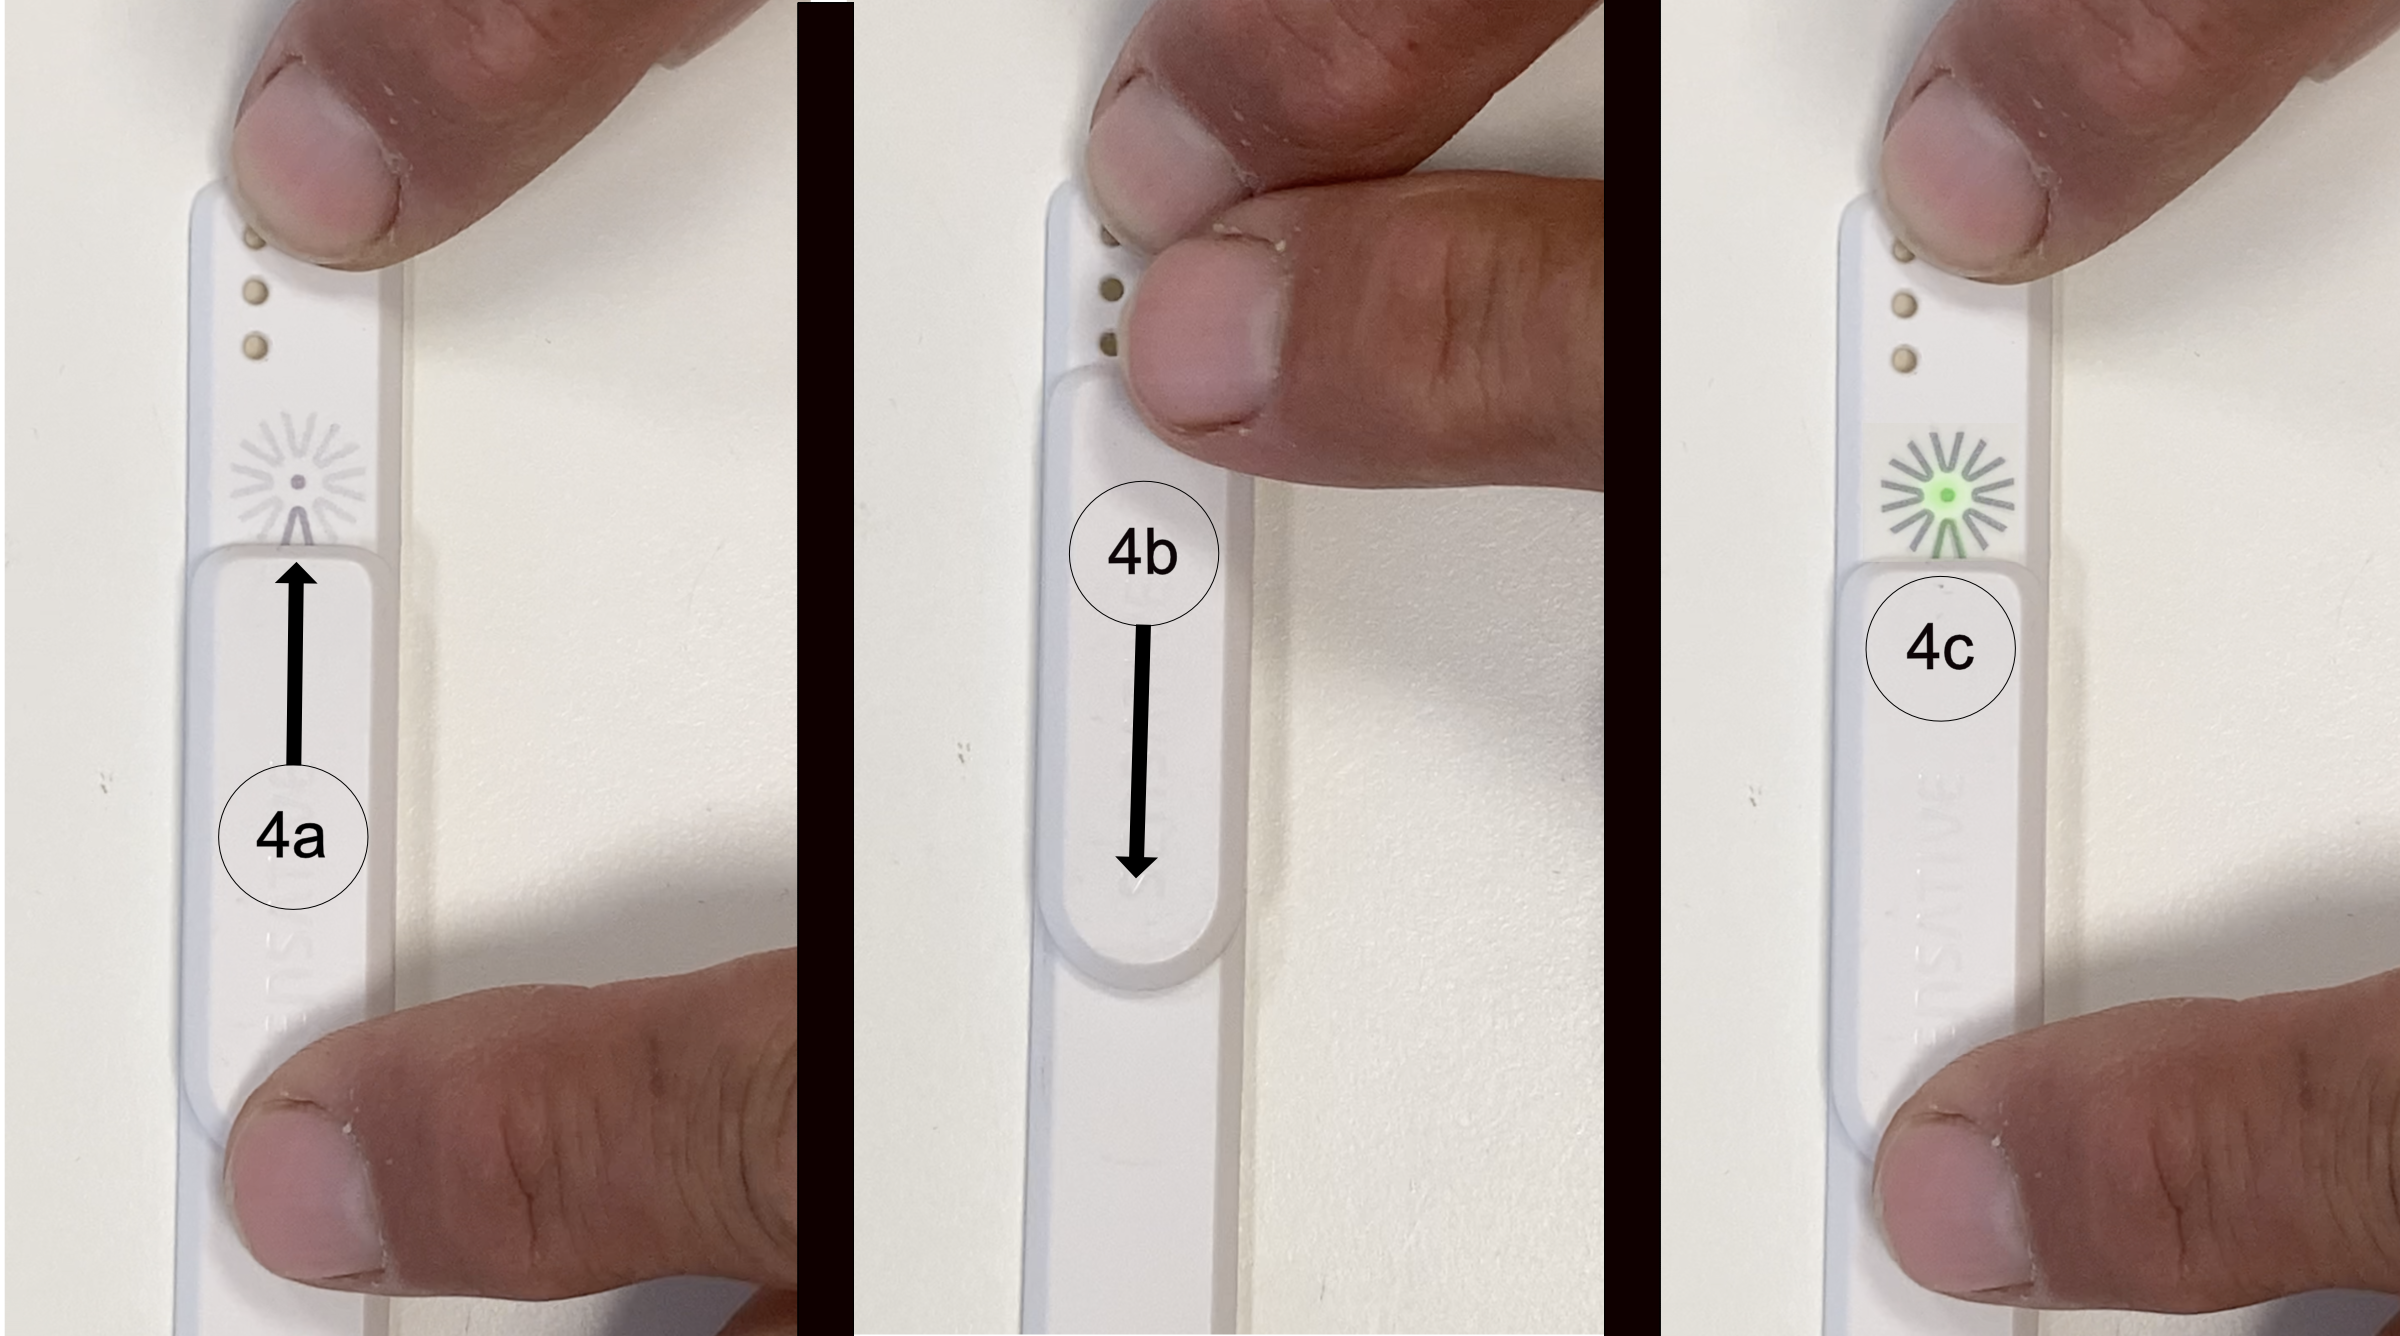
Make sure the Strips sensor recognizes +Switch in both positions:
4a. Move +Switch towards the straight edge of Strips
4b. Move +Switch towards the round edge of Strips
4c. Make sure the Strips sensor blinks directly after moving +Switch back to its first position
5. When you have verified the position, press gently on the +Switch to fasten it and allow 24 hours to harden
LED blinks:
In case you need to remove +Switch from Strips, please follow these steps:
- Carefully remove the top slider part of +Switch (5a)

2. Once the top is removed, use dental floss or a string to remove the bottom plate from Strips sensor
Strips +Switch LED Behavior
Below is a number of videos describing how Strips' LED blinks in different situations that may be useful to know
Strips Multi-sensor +Switch
Strips Multi-sensor +Switch joined to the network:
Strips Multi-sensor +Switch not joined to the network:
Strips MS +Drip +Switch
Strips MS +Drip +Switch joined to the network:
Strips MS +Drip +Switch not joined to the network:
Strips MS +Guard +Switch
Strips MS +Guard +Switch joined to the network:
Strips MS +Guard +Switch not joined to the network:
Strips MS +Comfort +Switch
Strips MS +Comfort +Switch joined to the network:
Strips MS +Comfort +Switch not joined to the network:
Strips MS Presence +Switch
Strips Presence +Switch joined to the network:
Strips Presence +Switch not joined to the network:
Strips Comfort 700 +Switch (Z-Wave 700 series)
Strips Comfort 700 +Switch joined to the network:
Strips Comfort 700 +Switch not joined to the network:
Please follow the steps above, if you are having trouble or would like help getting started, please submit a support request here